 |
| Flexible pipe from chassis lug to bracket - Just look at that dust! |
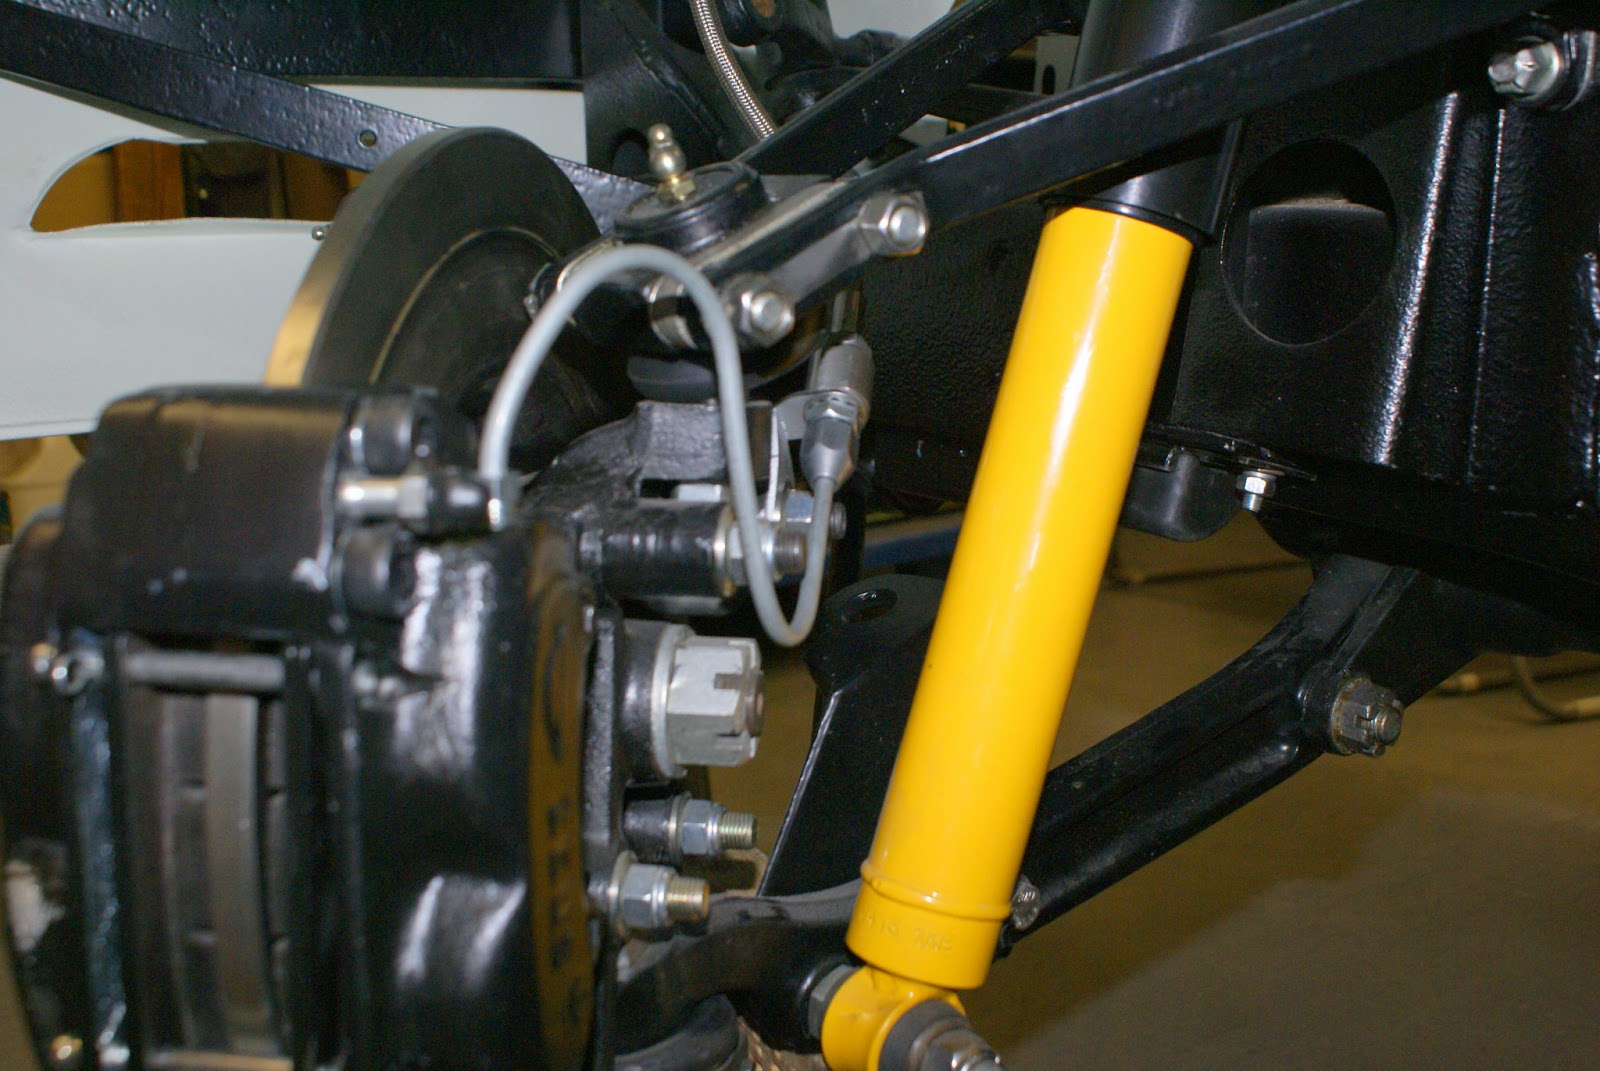 |
| And solid pipe - bracket to calliper. Really should paint shocker black |
Brake Fluid - now there's a subject guaranteed to to start a fight at an otherwise polite meeting of mild mannered Jaguar Drivers Club members. Silicone, Glycol, DOT 3, 4, 5, 5.1 Soft pedals, swollen seals, damaged paint work, the list of complaints and opinions goes on and on. Having used both types over the years, with and without problems, I considered it worth the effort to spend some time researching this and eventually found what I consider to be the definitive article on the subject.
http://www.mossmotors.com/forum/forums/26292/ShowThread.aspx
To summarise, it seems that Silicone is best in classics, especially if its an all new / re-built system with no Glycol residue to mix with. An additional benefit and very important to me is silicone's inability to ruin a nice paint job. So Silicone it is.
With half a litre of fluid in the glass reservoir I started by bleeding the front off side simply because I could pump the brake pedal lever by hand. A few gentle strokes and a minute or so later I had puddles of various sizes under almost every union. It took a great deal of time and effort to sort this as I am wary of over tightening hydraulic fittings so just kept nipping them up a little at a time. It would have been possible and so much easier to completely sort the breaking system at rolling chassis stage.
How on earth do you fit the Oil pressure / water temperature gauge. I thought the 140 was difficult, but this is nigh on impossible. The gauge must be fitted in the instrument panel and the solid oil pipe must be attached prior to attaching the instrument panel to the main dash board. The arrangement is naff and does not lend itself to maintenance in the event of a future electrical problem behind the dash. Also the water temperature pipe whilst thinner and more flexible is a permanent fixture to the gauge and it would take very little to damage it. There are times when originality must be sacrificed, so Cleveland Flexible Engineering to the rescue again. This is a fantastic operation more used to making up huge hydraulic pipes for heavy plant, but very happy and immensely helpful with smaller jobs.
 |
| Flexible pipe to replace solid oil pressure gauge feed pipe. |
 |
| Stub pipe on oil pressure gauge - now accessible |
 |
| Initial fit of bonnet - superb |
Miscellany
I have two cars insured with Lancaster, my 140 and my Frog-eye sprite, both due for renewal at the beginning of June. Lancaster are currently plugging Multi-Car policies for classics, so given that the 120 should be on the road in June, that looked like an ideal solution. My Frog-eye cover is £121.25 and the 140 is £194.51 both including agreed valuations and the usual Legal Benefits scam at £25 a go with the classic get out clause "There must be a greater than 50% chance of recovering damages" - guess who decides that - certainly not me. Anyway, I digress.
Reasonably assuming the 120 will be the same as the 140, insuring each car separately would give a total cost of say £440. Quite a lot considering restricted mileages and the fact that I can only drive one at a time. But this is where I'm bound to score with a Multi-Car policy with some handy discounts for the second and third cars. Quotation - an embarrassing (for the poor sod who had to call me) £761.00. But - as Jeremy Clarkson would say - it gets worse.
Obviously, the solution is to insure the 120 separately so I contact Lancaster again and ask them to quote for just that car. No problem sir - £960.67p. Surely some mistake I say. No sir that's the quote from our underwriters and is final. OK I say, "I can insure one car for £960.67, two for £315.76 or three for £761.00. He eventfully and very reluctantly agrees to go back to the underwriter and query it with a promise to call me back the following day. I can honestly say that Lancaster have promised to call me back on at least six occasions and never ever have. A record that remains unblemished.
Checking with a few friends, Haggerty is recommended. Literally fifteen minutes later I,m printing off the 120's Certificate of Insurance £276 lighter. It could not have been easier, and the documentation produced could be a lesson in clarity to the industry.
Registration document and Insurance in hand and with no MOT or payment required, the local Post Office hands over the 120's first tax disc for forty eight years years. Just need some brakes and lights now. (only joking)
 | |
 |
| Almost 48 years since it's last tax disc. |